Installing a deadbolt is one of the most effective ways to boost your home’s security. Whether you’re a seasoned DIYer or tackling this project for the first time, having the right equipment on hand makes the process smoother and ensures a secure fit for your new lock. This guide covers the tools needed to install a deadbolt, explains their purpose, and provides practical tips to help you achieve a professional result.
Before you begin, it’s important to understand the steps involved and why each tool matters. From measuring and marking to drilling and tightening, each phase of the installation requires specific gear. If you’re weighing the pros and cons of doing it yourself, you might also find our article on DIY vs professional deadbolt installation helpful for making an informed decision.
Essential Equipment for Deadbolt Installation
To achieve a secure and reliable fit, you’ll need a combination of measuring, drilling, and fastening tools. Below is a checklist of the most important items you’ll need for the job:
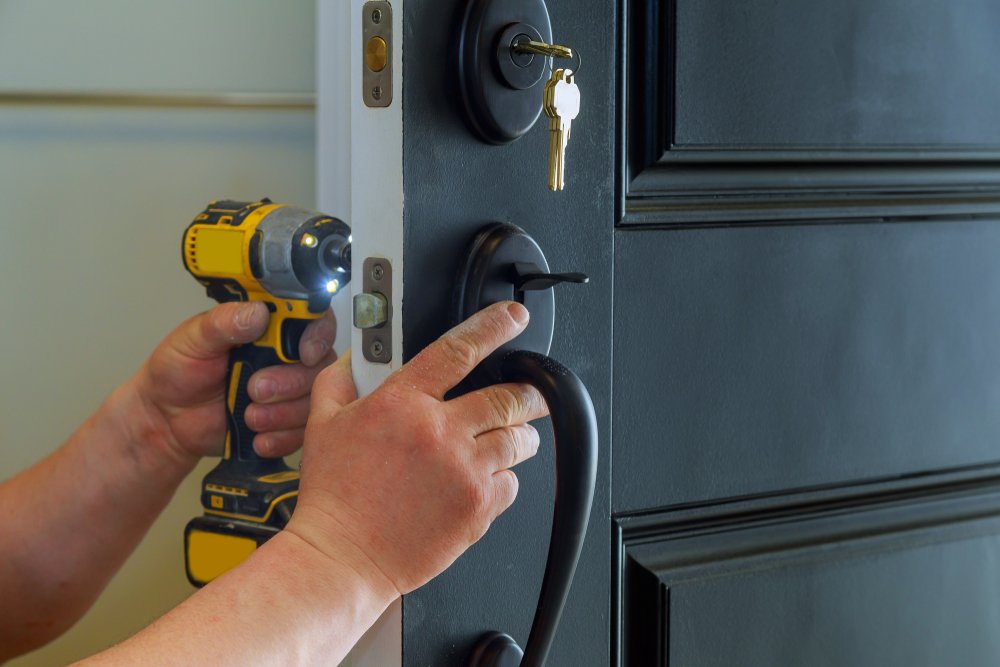
- Power drill – For drilling holes in the door and door frame.
- Drill bits and hole saw – Typically a 2 1/8-inch hole saw for the lock body and a 1-inch spade bit for the latch.
- Screwdrivers – Both Phillips and flathead types, for removing and installing screws.
- Measuring tape – To ensure precise placement of the deadbolt and latch.
- Pencil or marker – For marking drill points on the door.
- Chisel – For mortising the area where the latch plate and strike plate will sit flush.
- Hammer – Used with the chisel to create mortises.
- Utility knife – For cleaning up edges and making fine adjustments.
- Awl or nail – To create starter holes and prevent drill bit wandering.
- Safety glasses – To protect your eyes from wood chips and debris.
Choosing the Right Tools for the Job
While the list above covers the basics, the quality and type of your equipment can make a significant difference. For example, using a sharp, high-quality hole saw will produce cleaner cuts and reduce the risk of splintering your door. Similarly, a sturdy screwdriver with a comfortable grip will help you apply the necessary torque without stripping screws.
If you’re installing a deadbolt on a metal or fiberglass door, make sure your drill bits are rated for those materials. Wood doors are more forgiving, but precision is still key for a snug and secure fit.
Drill and Hole Saw: The Heart of the Installation
The most critical part of the process is drilling the main hole for the lock body and the smaller hole for the latch. Most deadbolt kits include a template to help you mark the correct positions. Secure the template with painter’s tape, mark your drill points, and double-check your measurements before drilling.
Use a 2 1/8-inch hole saw for the main hole and a 1-inch spade bit for the latch. Drill slowly and steadily to avoid damaging the door. If your door already has a hole for a knob or lever, ensure the new deadbolt will fit without interfering with existing hardware.
Marking and Measuring: Laying the Groundwork
Accurate measurements are essential for a successful installation. Most deadbolts are installed 6 to 12 inches above the existing doorknob. Use a measuring tape to find the correct height and a pencil to mark the center point on the edge and face of the door. Double-check your marks before drilling to avoid costly mistakes.
For added security, consider using a longer strike plate and screws that reach into the wall stud. This can help prevent forced entry and is a common upgrade recommended by security professionals.
Chiseling and Mortising: Achieving a Flush Fit
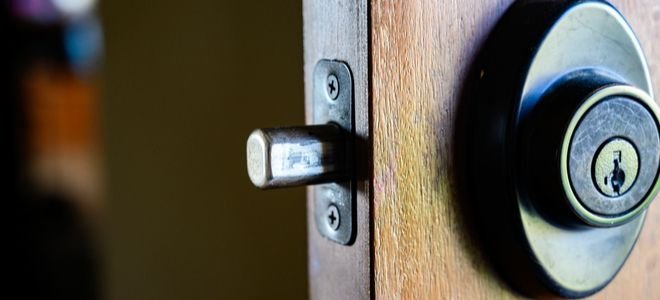
Once the holes are drilled, you’ll need to use a chisel and hammer to create shallow recesses for the latch plate and strike plate. This ensures the hardware sits flush with the door and frame, allowing the deadbolt to operate smoothly. Take your time and make small, controlled cuts to avoid removing too much material.
Fastening and Final Adjustments
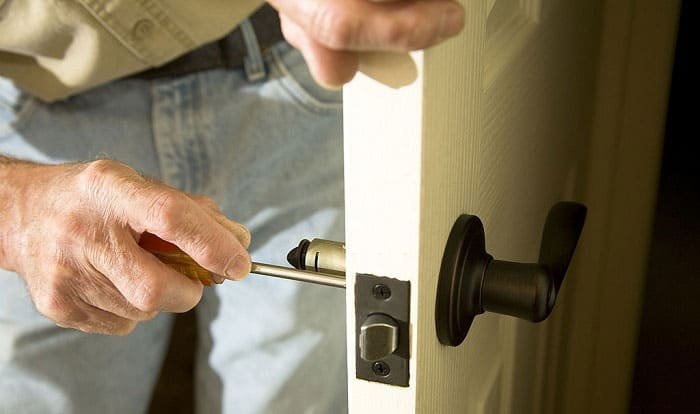
With the holes drilled and plates mortised, it’s time to install the deadbolt hardware. Use the provided screws and a suitable screwdriver to secure the lock body, latch, and strike plate. Avoid overtightening, which can strip screws or warp the hardware. Test the deadbolt several times to ensure smooth operation and proper alignment.
If the bolt does not extend or retract smoothly, check for misalignment and adjust as needed. A utility knife can help clean up rough edges, and a chisel can be used for minor tweaks to the mortise.
Safety and Preparation Tips
Before starting, gather all your equipment and read through the deadbolt manufacturer’s instructions. Wear safety glasses to protect your eyes, especially when drilling or chiseling. If you’re unsure about any step, consider consulting a professional or reviewing detailed guides, such as the Wirecutter review of the best smart locks for additional insights into lock types and installation tips.
For those living in shared spaces, choosing the right lock is crucial. Our resource on the best deadbolt for shared houses can help you select a model that balances security and convenience for multiple users.
Common Mistakes to Avoid
- Drilling holes in the wrong location due to inaccurate measurements.
- Using dull or incorrect drill bits, which can damage the door.
- Failing to chisel deep enough for the latch or strike plate, causing misalignment.
- Overtightening screws, which can strip threads or deform hardware.
- Neglecting to test the lock before finishing the installation.
Taking your time and following each step carefully will help you avoid these pitfalls and ensure a secure, long-lasting installation.
Additional Resources and Considerations
If you have pets or elderly family members, you may want to explore specialized advice on pet safety and door locks or deadbolt security for seniors. For those unsure about tackling the project alone, our guide on how to choose a trustworthy locksmith can help you find reliable professional assistance.
FAQ
Can I install a deadbolt with only basic hand tools?
Yes, it’s possible to install a deadbolt with basic tools like a drill, screwdriver, and chisel. However, using a hole saw and spade bit designed for door hardware will make the process easier and result in a cleaner installation.
Do I need to replace my door if it already has a hole for a deadbolt?
No, if your door already has the correct size hole and is in good condition, you can simply replace the old deadbolt with a new one. Just ensure the new lock matches the existing hole dimensions and backset.
What should I do if my deadbolt doesn’t align with the strike plate?
If the deadbolt doesn’t slide smoothly into the strike plate, check your measurements and adjust the mortise as needed. You may need to reposition the strike plate or enlarge the hole slightly for proper alignment.